
![How to Restore a Wooden Fence? [Complete DIY Guide 2025]](https://fcpaintprowash.com/wp-content/uploads/2025/05/FC-Paint-1.jpg)
Your backyard should feel like a retreat. But when a dull, broken fence surrounds it, the charm fades. Many homeowners struggle with faded color, cracked boards, and rotting posts. The good news? You do not need to tear it down. You can restore your wooden fence and make it look new again. In this full guide, we walk through every step. From early cleaning to deep repair, staining, and sealing, we cover it all.
A new fence can cost plenty. Restoring what you have saves time, cash, and stress. This guide makes it simple. You will learn quick tips and tricks for wooden fence restoration. Each step is safe, smart, and easy to follow.
Why Fence Restoration Matters
A wooden fence gives privacy, style, and safety. But over time, the weather wears it down. Rain, sun, and wind lead to cracks, fade, and rot. Restoring helps extend its life. You protect your home and raise its value.
Here’s why people choose to restore instead of replace:
- Lower cost than buying new
- Keeps your yard’s style intact
- Less waste and more green
- Faster process than full replacement
Signs You Need Fence Restoration
Here are the signs:
- Peeling or faded stain
- Wood feels soft or mushy
- Posts lean or move
- Boards split or sag
- Mildew or green mold marks
How to Restore a Wooden Fence?
Clear the Area
Begin by removing any plants and furniture near your fence. Trim back any grass that is touching the base. Try to find used nails first. Ensure the space is clear and safe for work. This step guarantees that you won’t damage anything while repairing the surface.
Clean the Fence
Deep clean the wood once the area is ready. Use a pressure washer set to low and a scrub brush with wood cleaner to remove mold and debris. Soft wood can break, so don’t apply force. Allow the fence to dry for a full day before moving forward. Clean wood yields better results during staining and sealing.
Inspect and Repair
After the fence is dry, check for signs of damage. Replace any broken slats and tighten all screws and nails. Ensure that the posts are strongly bound to the ground. This step is important to ensure your fence is safe and solid.
Sand the Surface
Sanding helps to remove any old stain and smooths the wood. Use medium-grit sandpaper and work with the grain. You can do this by using your hand, and also with an electric sander. Wipe the fence down with a damp cloth. It is used to remove all dust after sanding. This step prepares the surface for even staining.
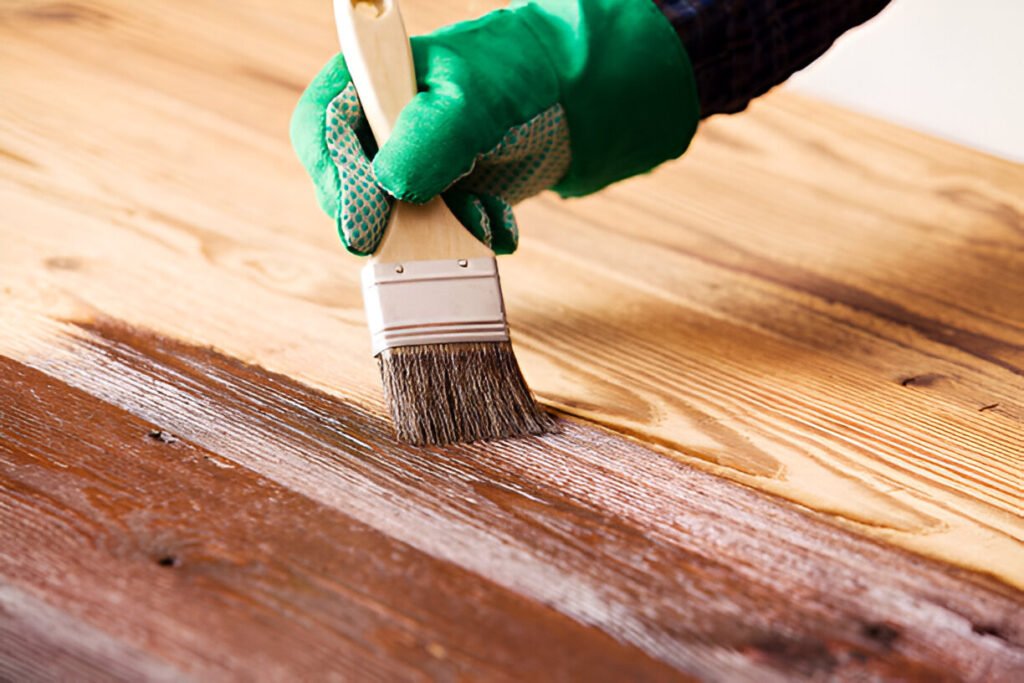
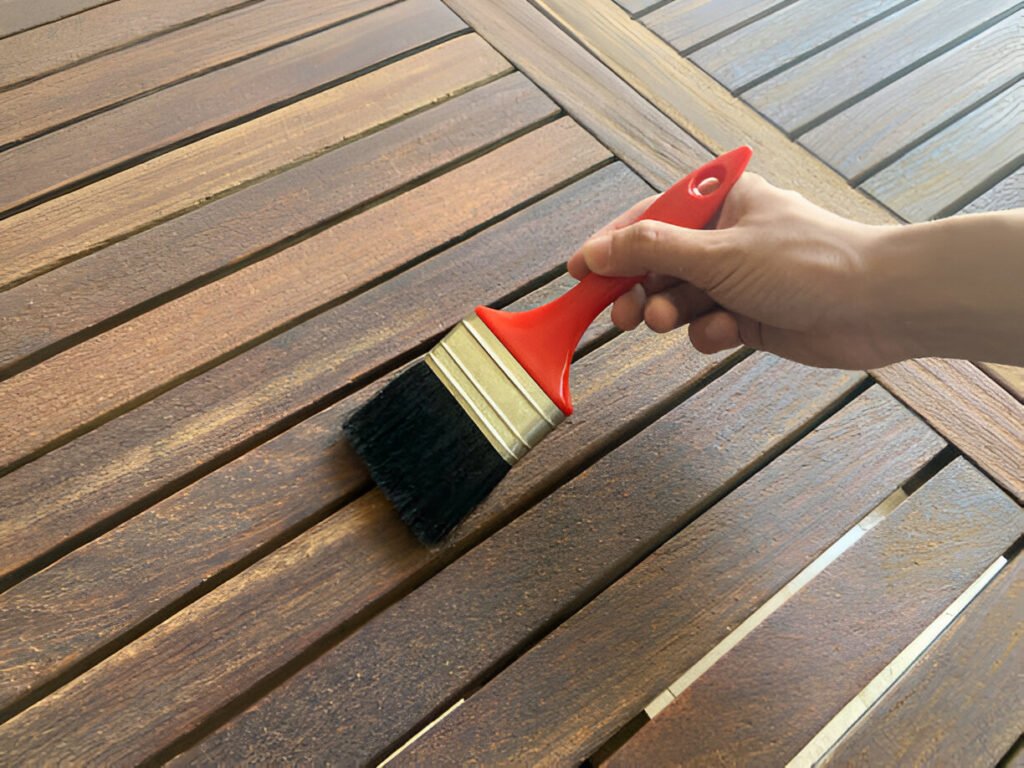
Apply Stain or Sealant
Choose a wood stain and sealant that matches your style. Apply it using a brush. Ensure you cover all sides and edges evenly. Two thin coats are better than one thick coat. Allow it to dry fully between applications. This step not only beautifies the appearance but also protects the wood from the sun and rain.
Final Touches
Now, inspect the fence one more time. Touch up missed areas, check the base for water build-up, and look for gaps. Add finishing pieces like post caps or nearby flower beds to enhance the fence’s charm. These touches give your project a clean and complete look, finalizing your journey in DIY fence restoration.
Common Mistakes
Many homeowners rush the process. This leads to poor results or damage. One major mistake is staining wet wood, which can trap moisture and lead to rot. Skipping the cleaning step leaves behind dirt that ruins the finish. High-pressure washing is also risky; it can split soft boards. Some people also use paint when stain is a better choice. Others forget to inspect nails and fasteners, which weakens the structure. Taking your time and following each step will ensure your effort pays off and keeps the fence in good shape for years.
Benefits of Doing It Yourself
Why not hire help? Good question. But wooden fence maintenance can be easy.
- You save money
- You learn new skills
- You work on your time
- You build pride in your home
With this guide, how to restore a wooden fence no longer feels hard. It becomes fun.
Seasonal Care for Your Fence
Restoring once is great, but upkeep matters too. Each season brings new weather threats. In spring, check for rot and mildew. Water the soil around posts to keep the base stable. Fall means cleaning off leaves quickly and sealing any surface cracks. Winter needs the most care. Clear snow from the base and protect against freezing water. A simple check each season extends the life of your wooden fence and keeps it looking fresh.

Extra Tips for Stronger Results
Want bonus results? Here are expert-level wooden fence repair tips:
- Add gravel at the post base for water flow
- Use rust-proof nails
- Keep stain on hand for touch-ups
These extra moves support long life and great looks.
Give Your Fence New Life
If your yard looks tired, your fence might be the reason. Old wood fades fast, but you can fix it. With our step-by-step guide to restoring a wooden fence, every board can shine again. Start this weekend. Use these fence repair tips to renew, clean, stain, and seal. Need help or gear? Contact us now. We offer the best fence repairing services. Do not wait. Let’s get your fence fresh and strong.
Conclusion
Restoring a wooden fence does more than fix boards. It brings life back to your yard. With clear steps and solid tips, you can fix it all. From stains to cracks, each part has a fix. This guide walks you through how to restore a wooden fence with ease. Keep this guide handy. Use it each season. You now know all about wooden fence restoration and ways to keep it strong. Your fence is more than wood. It’s the frame of your home. Keep it sharp and safe.